Check out this awesome guide on how to upholster a car seat from scratch, submitted by Brent Parker of Brent Parker Motor Trimming in Glenorie, Australia. This how-to guide was originally published in our Auto Upholstery Forum.
Brent writes…
Thought I’d share with everyone how I build seats from scratch with a step-by-step pictorial. I’m currently trimming a Lotus Elan 1959.
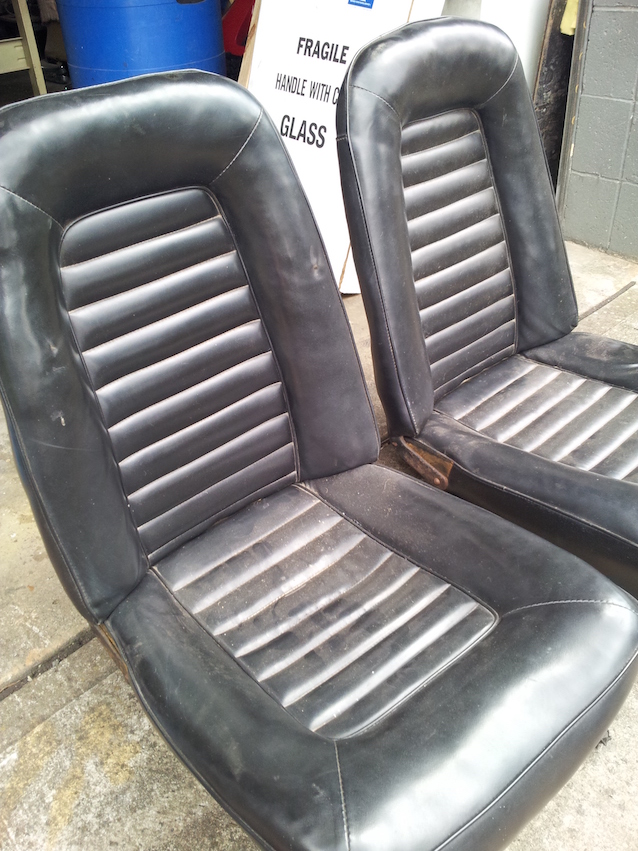
The first photo is what the seats originally looked like. You can see how they’re very lumpy and out of shape, so I decided to completely strip and rebuild them (the right thing to do).
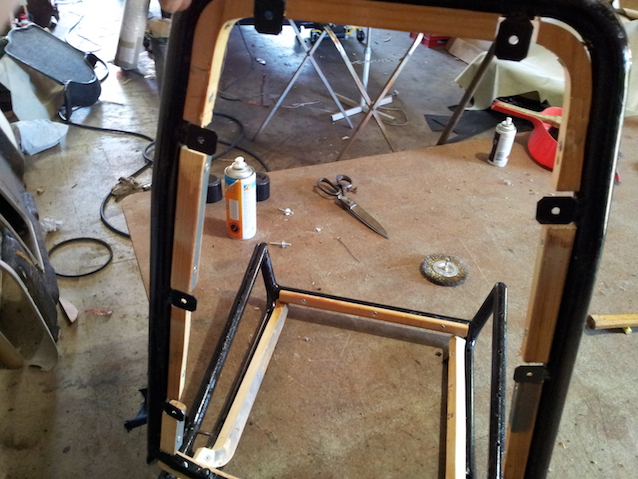
Here I welded tabs on so I could put an outside back on with Christmas tree plugs, and I screwed timber so I could fasten the cover down with ease:
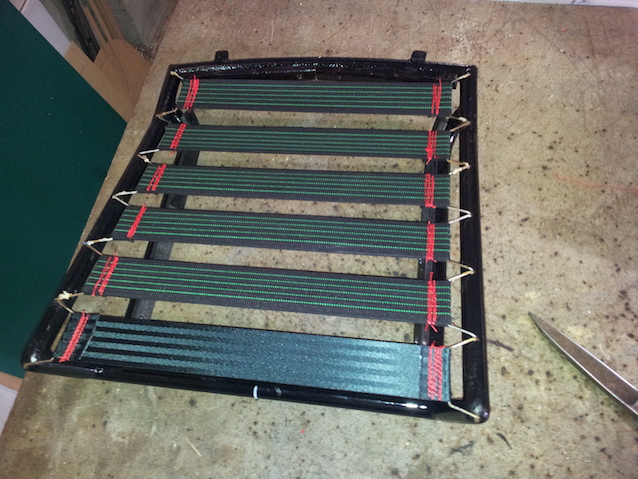
Installing new elastic webs. I doubled up for strength:
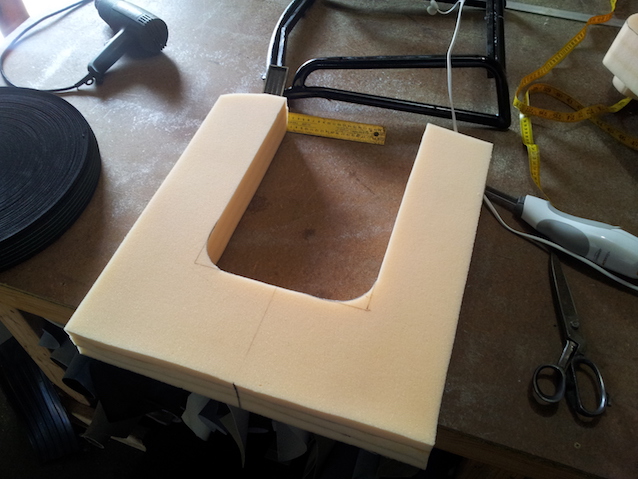
Here I cut out the approximate shape with the foam cutter, then put a rough sanding disc on the end of a drill and started shaping it to what I needed:
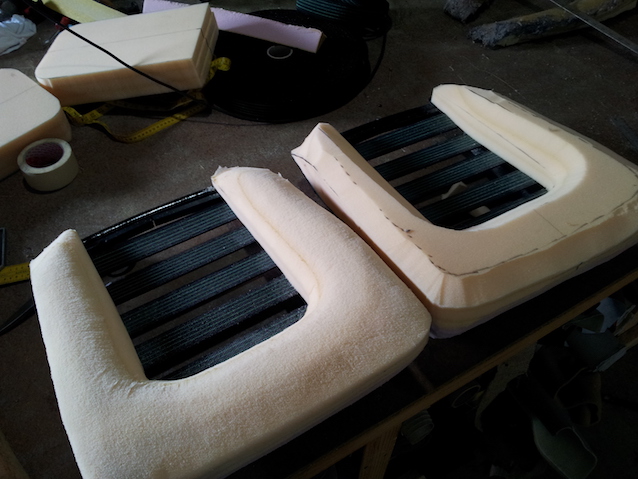
I laid some 9mm foam over the top, flattened out some of the slight bumpiness and marked evenly where my seams will go:
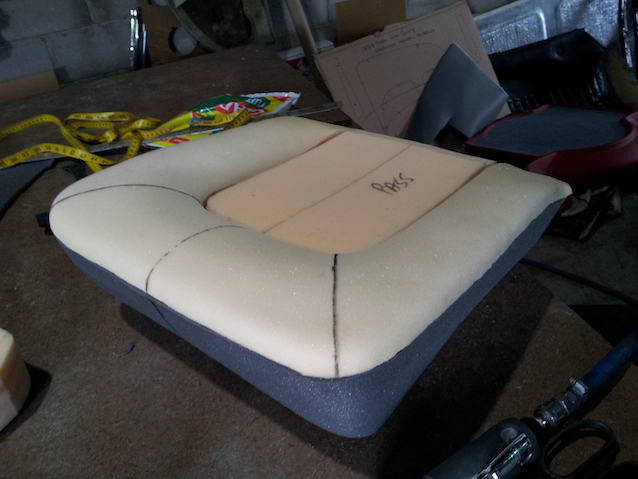
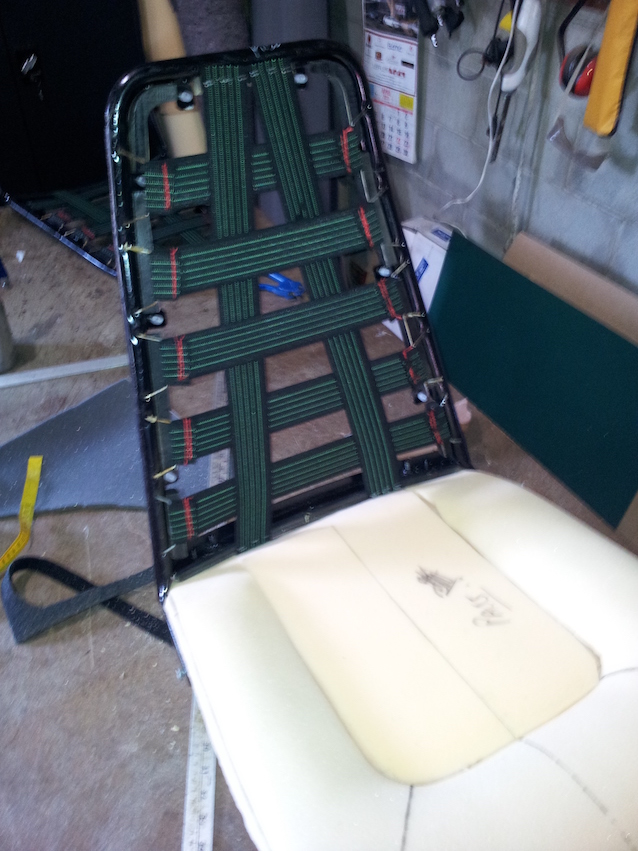
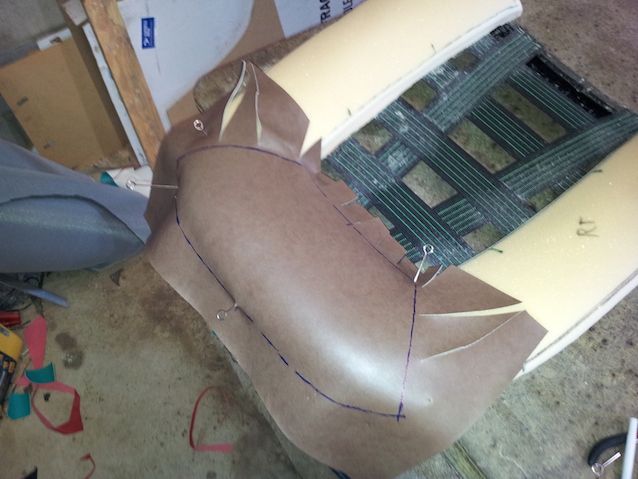
With the two seats finished being foamed up, the next step was to start marking out. I did this with old vinyl, making sure I had all my attachment marks. I did this with all the panels:
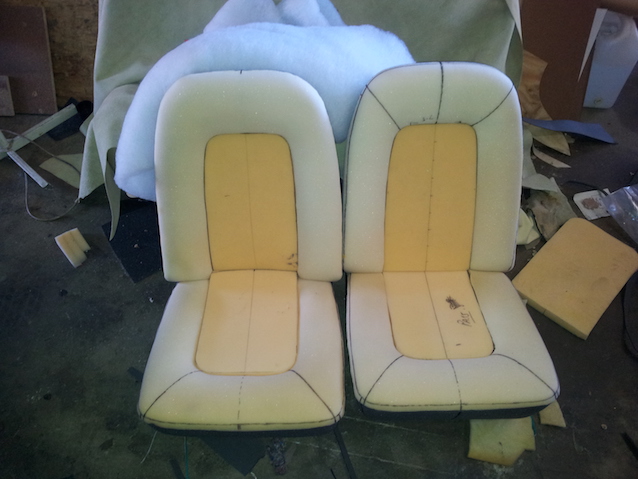
I transferred the vinyl I marked out to the leather. I then cut those pieces and sewed them together with my twin needle machine.
Sewing my pleats with 3/4″ foam sliced down half inch, makes for a nice pillow:
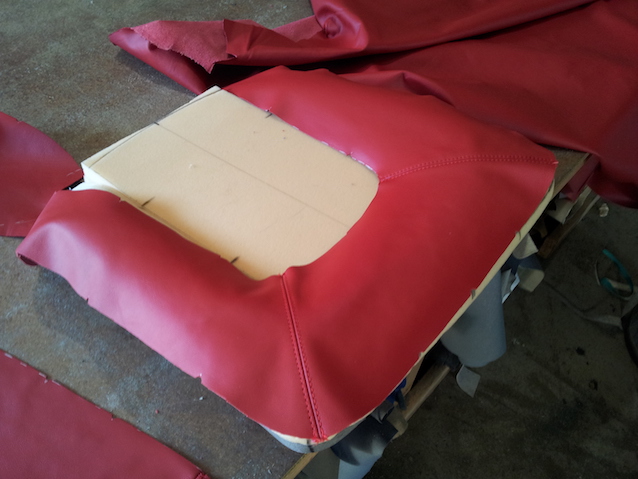
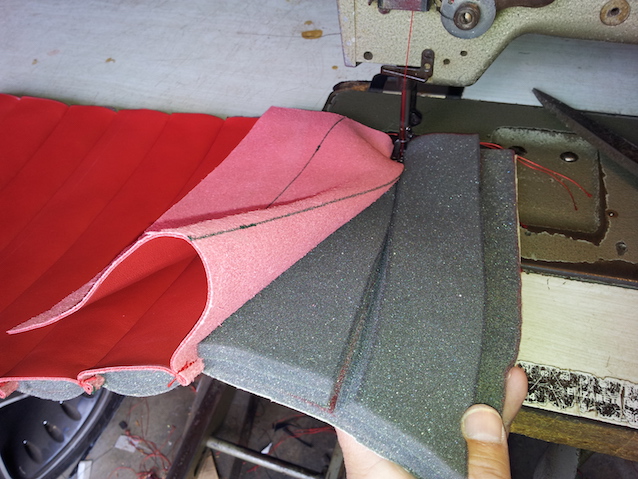
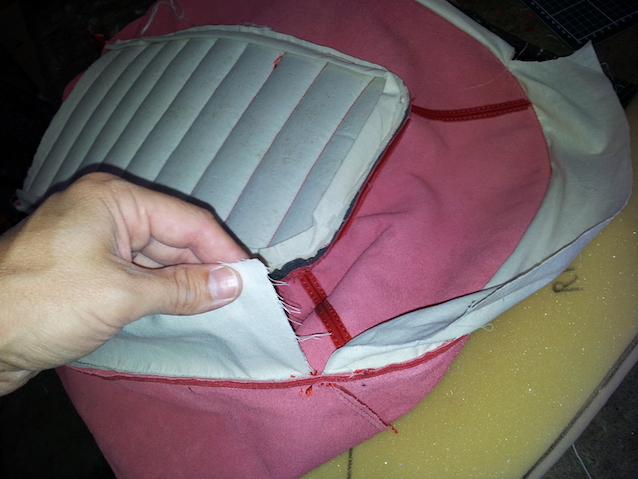
It’s all sewn up and ready to go. I also sewed underneath the seam with calico so it holds the piping down and doesn’t twist:
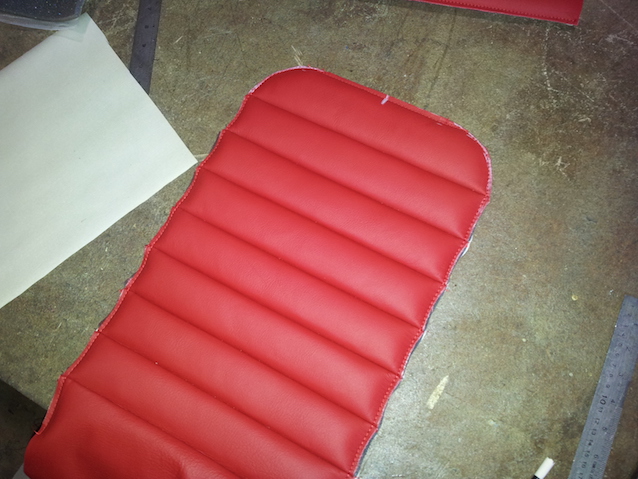
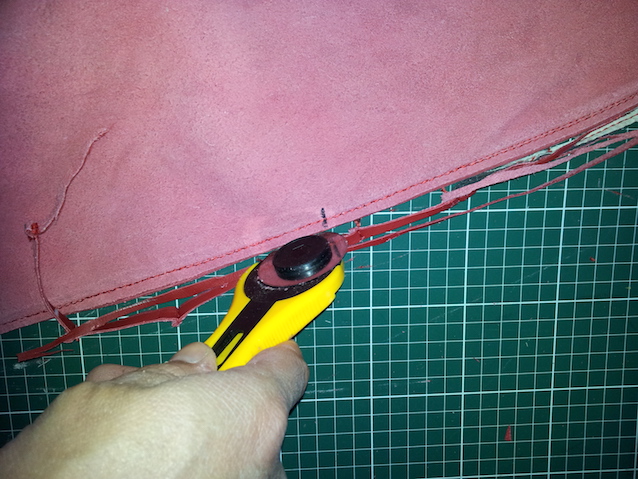
You can see here how I’m cutting off the excess seam with my rotary cutter. This is absolutely essential so you can get a nice smooth line when the cover is pulled down.
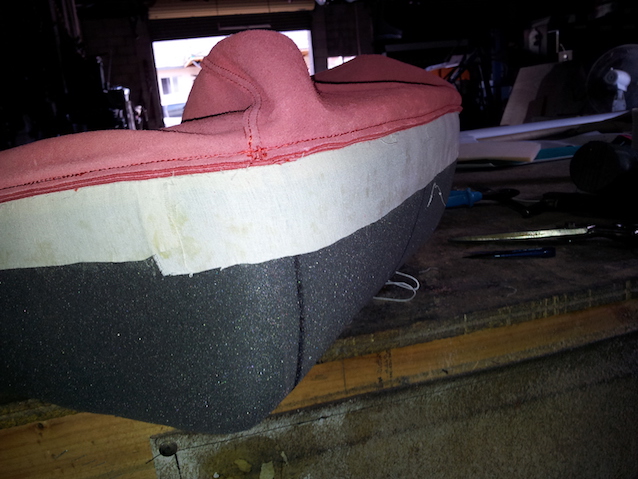
You then glue the calico down, pulling it quite tight because this is virtually how far the piping is going to come down:
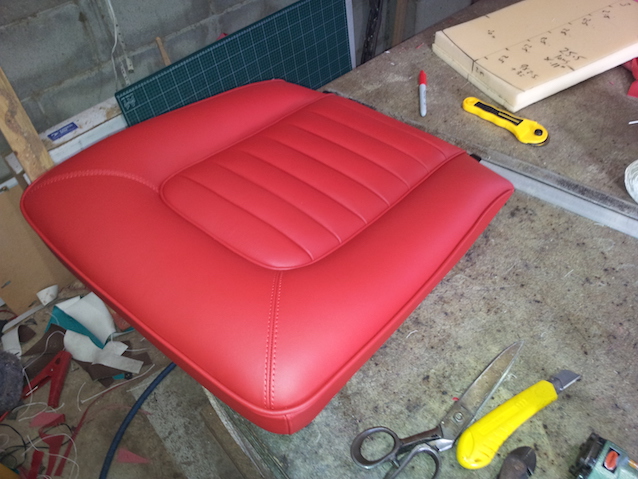
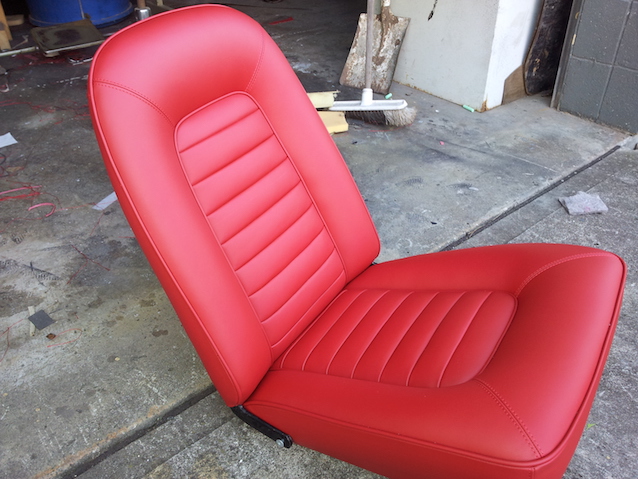
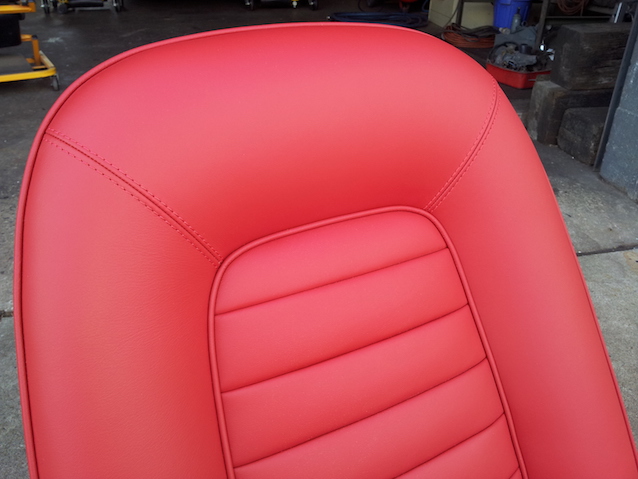
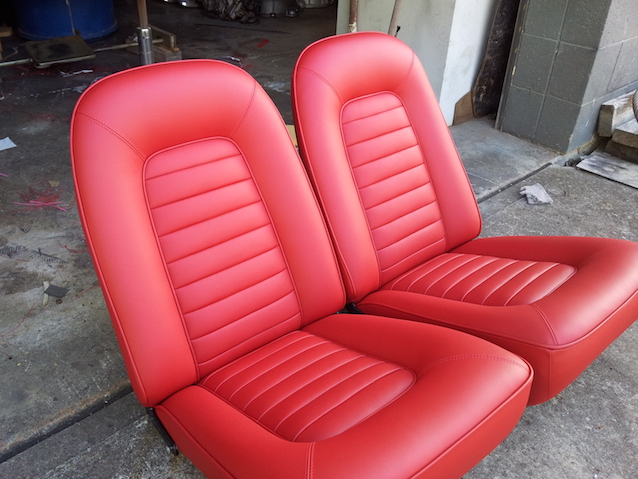
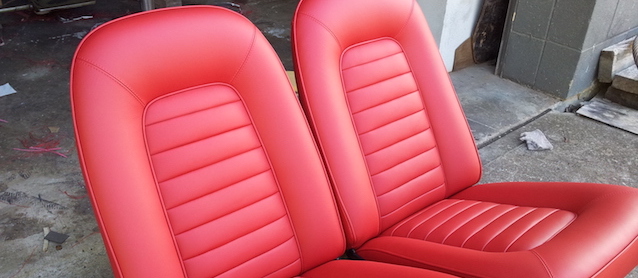
Some photos of the finished product:
To see more of Brent’s work and keep up on his latest projects, follow Brent Parker Motor Trimming on Facebook. Also, check out The Hog Ring‘s “How To” section.
Great tutorial. Thank you.
Thanks for the great tutorial. I’m fairly new at doing upholstery and this was clear to me. I won’t count on my first try looking that good.
The cushion border seam should have lined up with the cushion face seam, otherwise a very nice job
Outstanding Brent
Excellent Brett
20s car sponsee
Super sweet!
Nice work good fitting