On the outskirts of Sydney, Australia, in the suburb of Glenorie, you’ll find Brent Parker Motor Trimming – a small, one-man auto upholstery shop with a big reputation for quality craftsmanship. In fact, it’s become one of the world’s premier shops for restoring high-end vintage and exotic automobile interiors.
Every year, clients travel from near and far to have owner and operator Brent Parker re-trim their cabins. With over 17 years of experience, a meticulous attention to detail and uncompromising standards of quality, it’s easy to understand why. Among the countless, and often priceless, automobiles that he’s upholstered are a 1931 Rolls Royce, 1959 Lotus Elan, Bugatti Type 35, and an early 1920s Bentley.
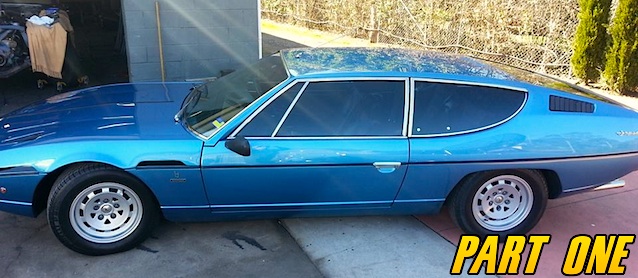
His latest project is to breathe new life into the aging, black interior of a 1974 Lamborghini Espada – transforming its cabin from drab to deluxe by wrapping it in beige Napa leather.
Always one to share, Brent has offered to take us through the 400-hour restoration process step by step. What follows is the first of a four-part series in which he shows us just how it’s done.
Part I: 1974 Lamborghini Espada dashboard and console
Before embarking on any new project, Brent determines what’s going to be the most challenging aspect and does that first. Upon seeing the ’74 Espada, he knew its dashboard and console would be challenging – but didn’t expect they’d take nearly 160 hours of work.
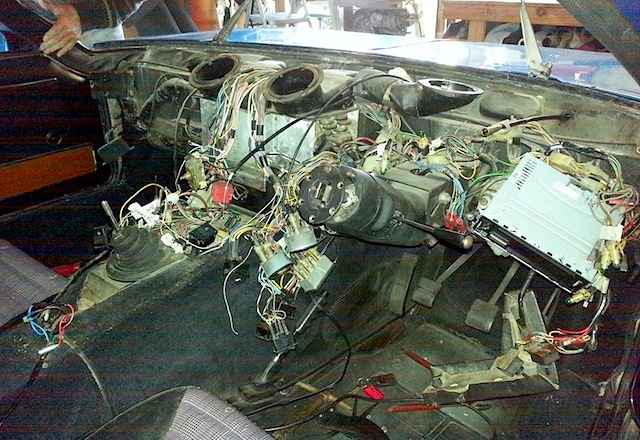
Brent explained: “There’s always that thought of what gremlins am I going to find behind that dash with all those dials and air con vents and cables. Even the customer knew the complexity of the work which was refreshing, and whilst I came highly recommended he was very nervous about his car being completely gutted. I kept on reassuring him that everything would be fine.”
Trimming a dash can be a daunting task no matter the make or model, but working on an exotic Lamborghini without readily available parts or assembly information adds to the pressure.
The biggest challenges Brent faced while disassembling the Espada’s dashboard were reaching and disconnecting it’s air-condition cables. After some brainstorming, and a lot of elbow grease and patience, he was able to reverse engineer them. However, doing so left him with a jungle of wires to navigate. To ensure a proper assembly later, Brent methodically taped and marked each wire and took a slew of photos to use for reference.
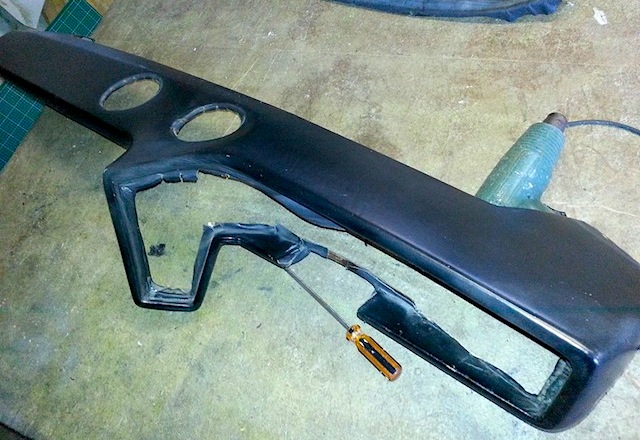
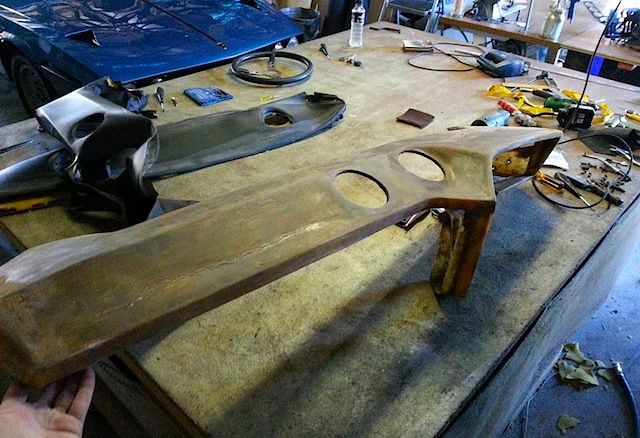
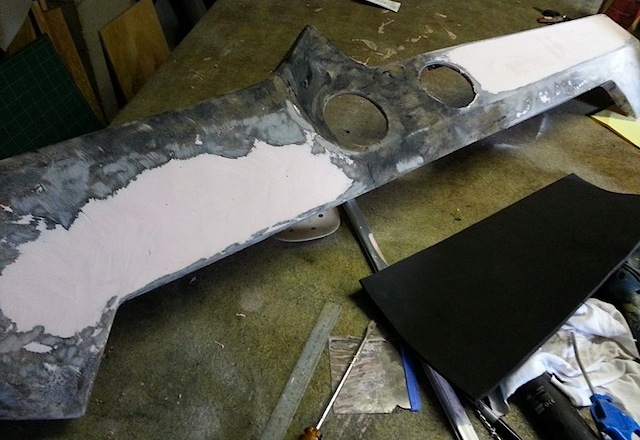
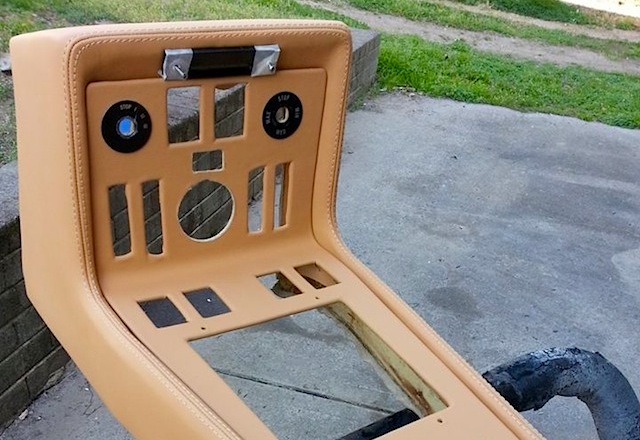
Once removed, Brent dove right into restoring the dashboard. “The dash was made out of fiberglass and was really out of shape and I had to put a lot of body filler over it to get it flat again,” he said. “I then glued EVA foam to it and sanded some of the fine bumps out of it using block and sand paper.”
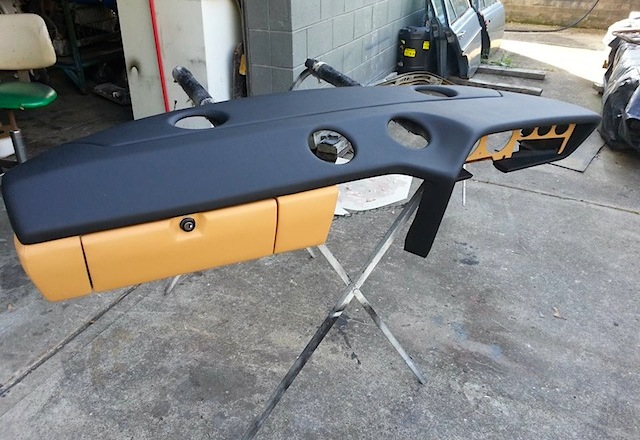
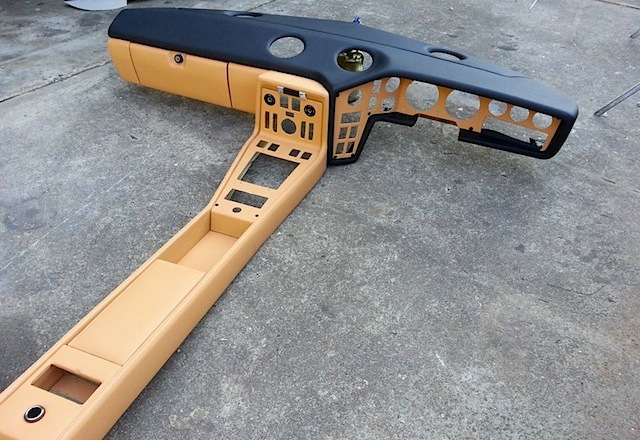
Following the dashboard’s restoration, Brent got to the trimming – which was no easy task. “Trimming the dash in leather was one of the most difficult jobs I’ve done and it’s all done in one piece, so my cuts had to be spot on,” he said. “It took up almost three quarters of a hyde.”
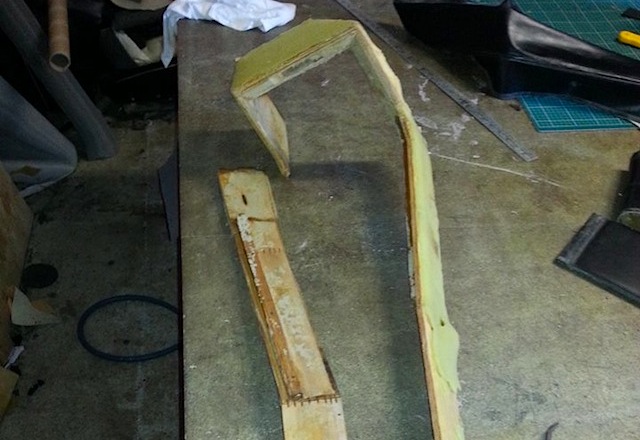
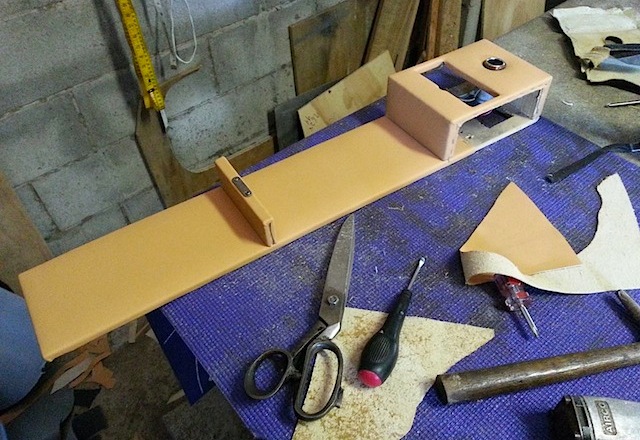
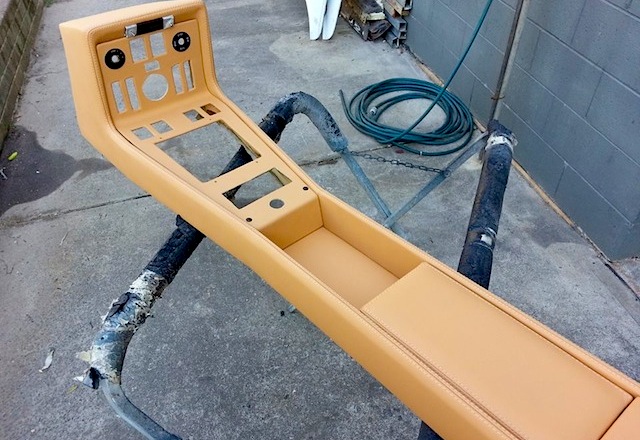
Next was the console. After stripping, it was evident that the wooden structure was in poor condition. For the sake of quality and rigidity, Brent reconstructed the entire console. He also made some minor modifications to improve its look and ease the upholstering process.
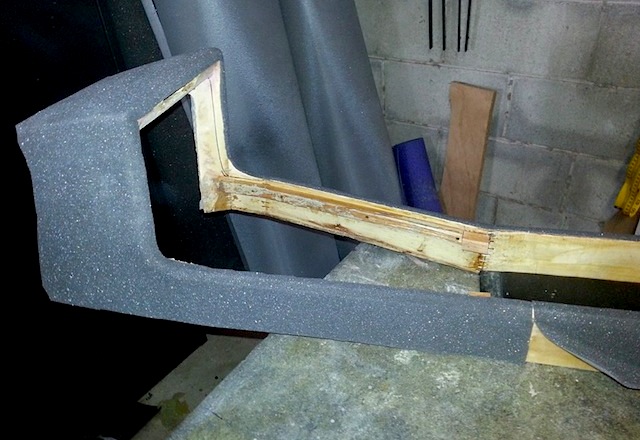
Following the reconstruction, Brent covered the console in thin foam and upholstered it in leather.
Of course, all the patterns for the dashboard and console needed to be made from scratch. When working on aged interiors like this, experts like Brent only trust their own patterns – as the original material is too warped and stretched to trace and expect a perfect fit.
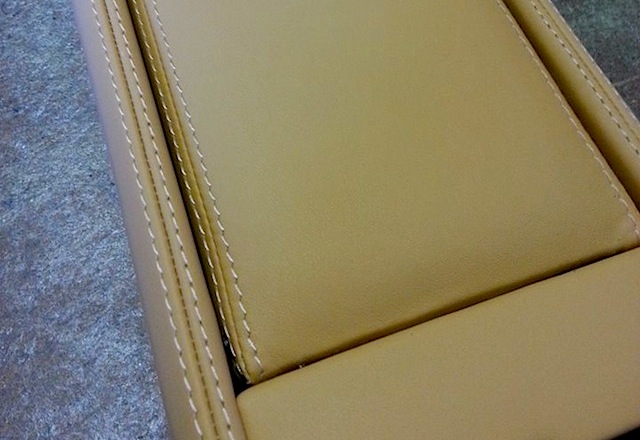
To acquire a perfect finish, Brent trimmed the dashboard and console using “seamless French seams“ – a unique method he once shared in our “Auto Upholstery Forum” in which he follows an initial stitch with the shearing of its seam allowance and then makes his top stitch. This type of seam prevents any chance of glued material lifting and allows it to lie flat without the unsightly bulges often caused by seam allowances.
The results were straight and stunning French seams, even around the tight corners of the console.
“I used my seamless French seam on this which made it so much easier to trim especially without that bulk getting in the way. I can’t stress enough how much easier it is using that method,” Brent said.
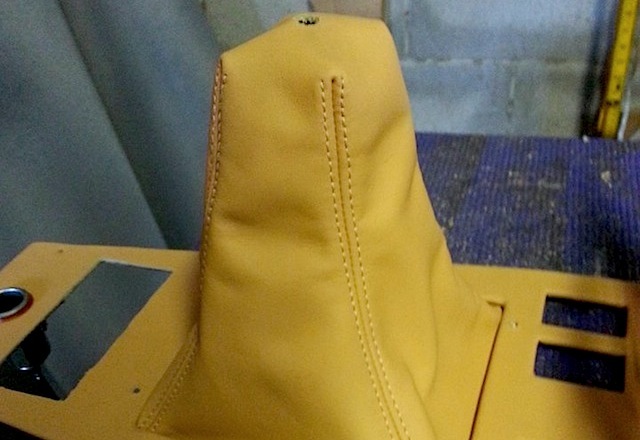
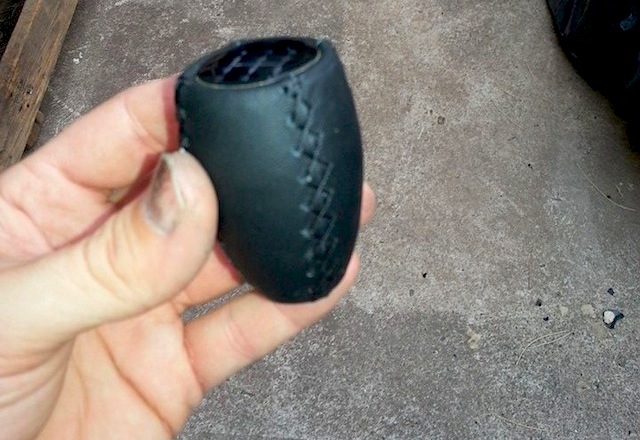
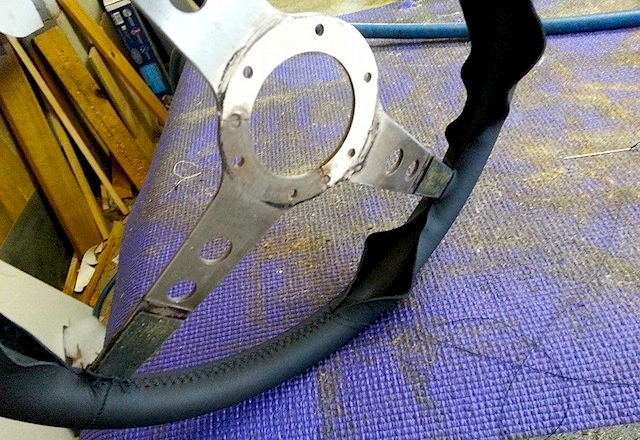
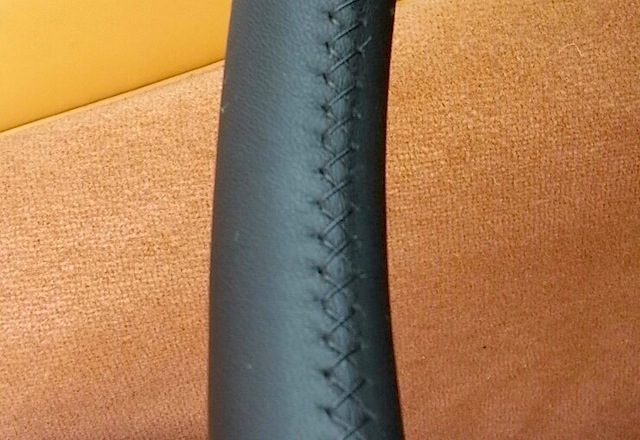
It’s the fine details that make for a spectacular interior, and this is where Brent’s work really shines. The below photos are of a single-piece, French-stitched shift boot and a hand-wrapped shift knob and steering wheel that he made for the Espada.
While the untrained eye may overlook details like these, every trimmer knows the amount of time, energy and level of skill required to get them just right.
After taking a firsthand look at all of the work involved in rebuilding the Espada’s dashboard and console, it’s easy to understand how even a seasoned pro like Brent could spend nearly 160 hours on just those aspects of the job. But we can all agree that it was time well spent.
Stay tuned for part two of this series, where we’ll show you step-by-step how Brent reconstructed the seats of this vintage supercar.
Thanks for a great article guys, feeling very humbled this morning 🙂
We’re the ones who are humbled. Your work is absolutely stunning. Thank you for sharing it with The Hog Ring community.
Thanks again for sharing Brent!
beautiful work.
The trick to wrap a steering wheel is to use two needles this makes it a whole lot faster and looks great
Be sure to charge by the hour on this type work or you will be sorry it is very difficult
Well I know your work by after put your heart and soul into my Xp Fairmont or known now as the FOSS