Earlier this month, Brent Parker of Brent Parker Motor Trimming in Glenorie, Australia showed us how he reverse engineered, reconstructed and wrapped the dashboard and console in a 1974 Lamborghini Espada. The painstaking process took him over 160 hours to complete, but was well worth it in the end.
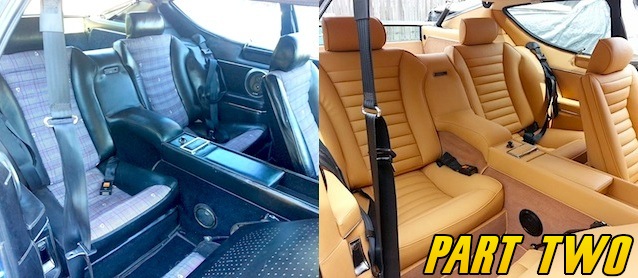
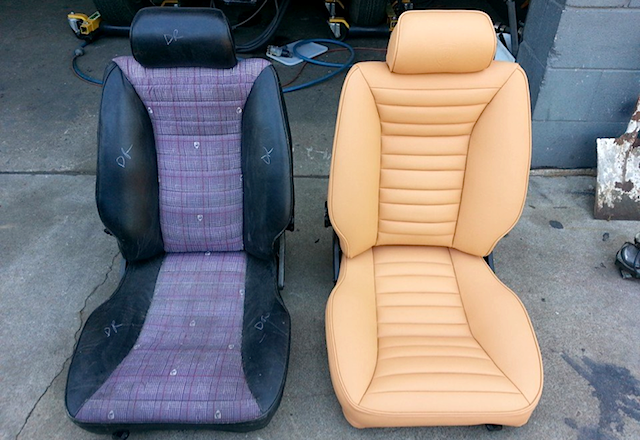
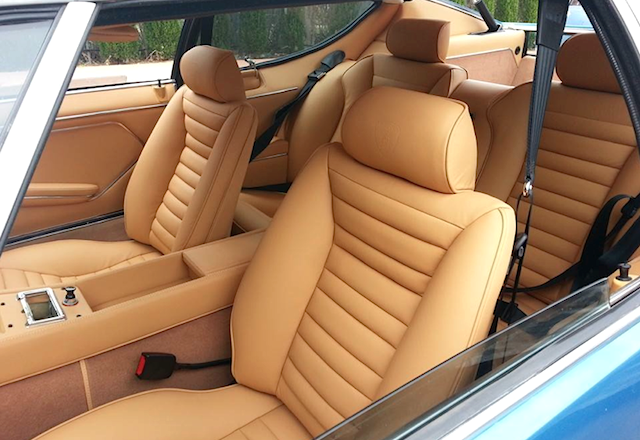
In part two of our four-part series with Brent, he walks us through the process of rebuilding and upholstering the vintage supercar’s front and rear seats.
Part II: 1974 Lamborghini Espada seats
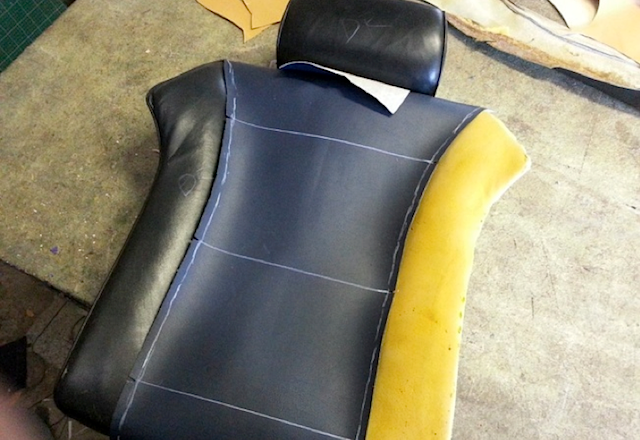
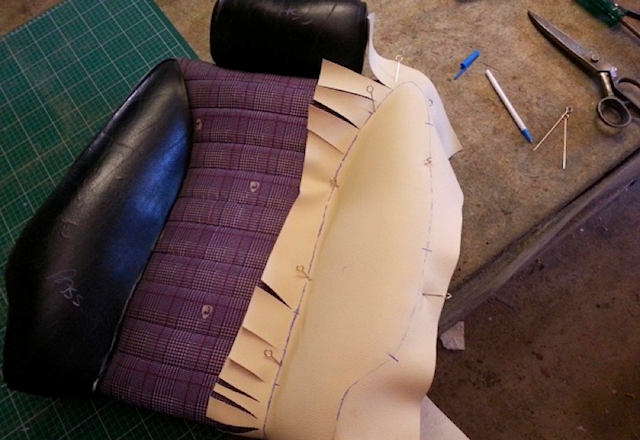
To ensure a perfect fit, Brent created his seat-cover patterns from scratch. To do this, he kept the original covers on the Espada seats and laid spare vinyl on top. After massaging the wrinkles out, he pinned the vinyl in place and marked where he would make his seams by pen.
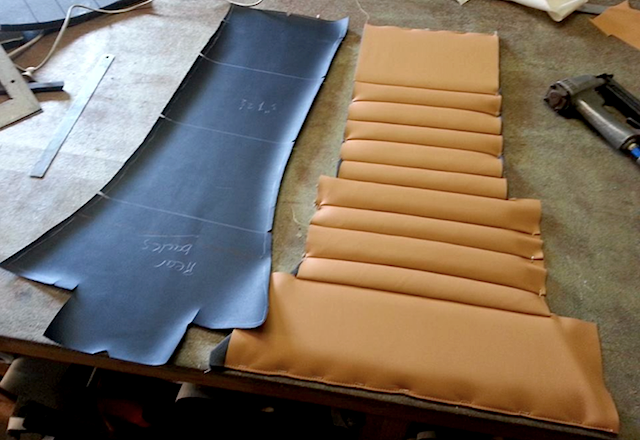
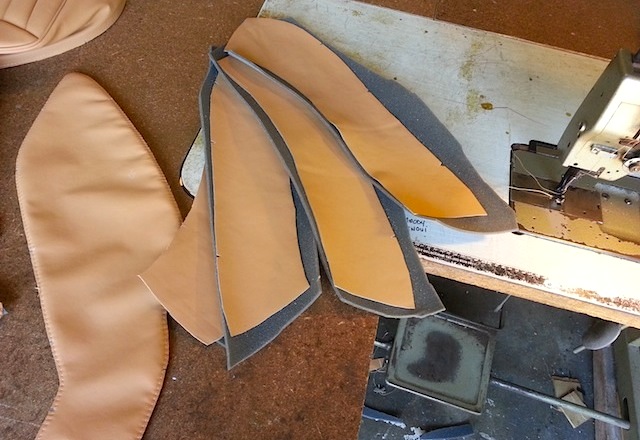
He then trimmed the patterns, accounting for necessary seam allowance. Once the patterns were deemed perfect, he traced them on the same beige Napa leather used on the dashboard and console and cut them out.
For or a more detailed explanation of how Brent makes his patterns, check out the following tutorial he published in The Hog Ring’s Auto Upholstery Forum: “How to Build a Seat from Scratch.”
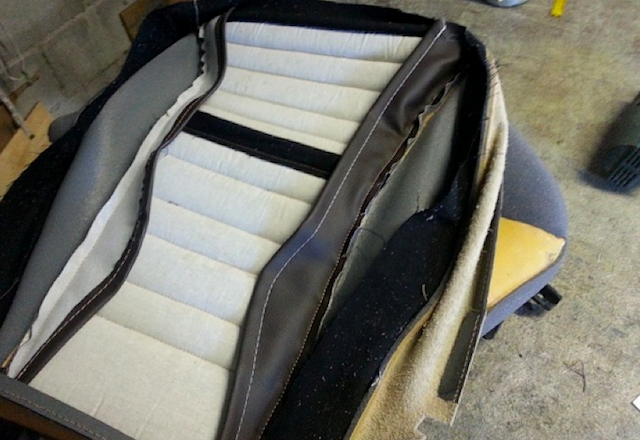
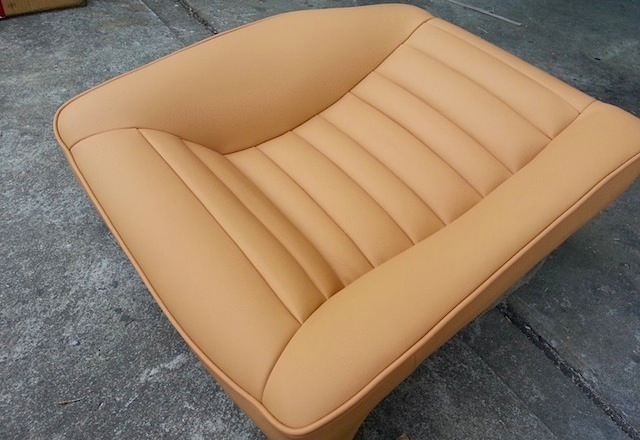
In most cases, the pleats sewn on insert panels are sized equally. However, that wasn’t the case with the Espada.
Brent explained: “The centre pleats were a little odd cos they alternated in size by half inch one after another so that kept me on the ball when marking out.”
The subtle difference in sizes made for a more unique and appealing look.
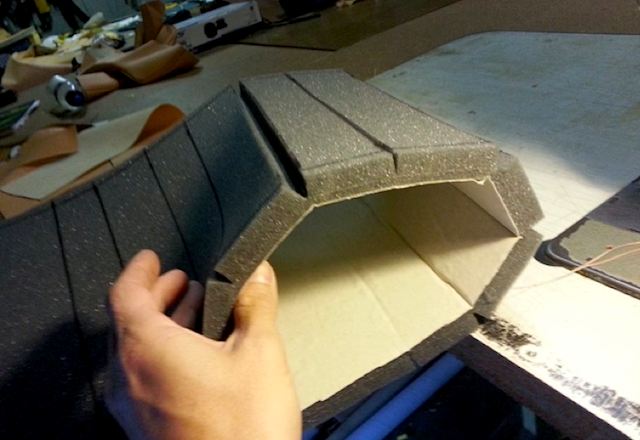
While the seats’ faces were sewn to sew foam, the skirts were left bare. All necessary listings were sewn in place to ensure a tight-fitting installation and calico was used to guarantee the piping lay properly.
”I also had my piping thinned to make it look like original. I personally think thick piping looks terrible,” Brent said.
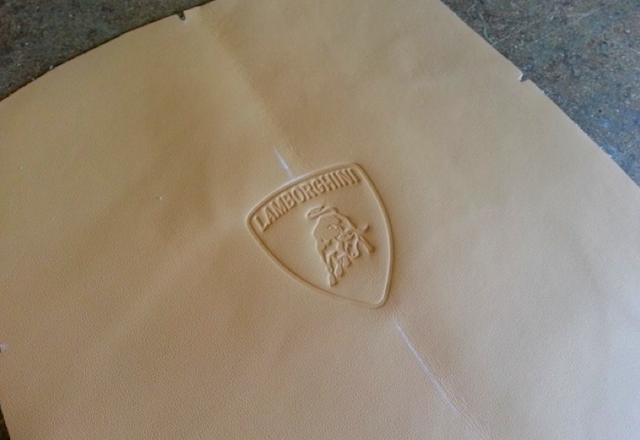
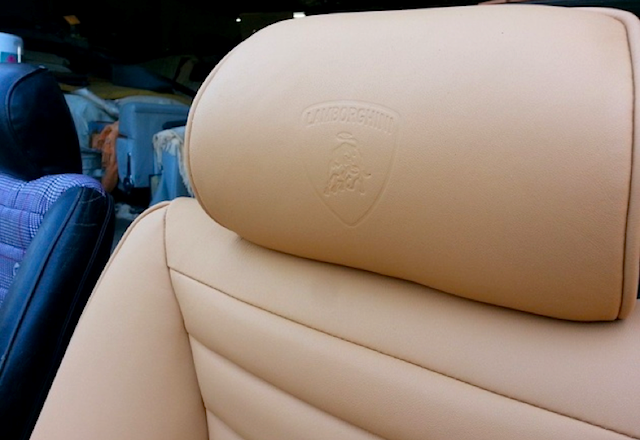
No doubt, embroidered logos can be the finishing touch on any seat. However, Brent felt that such a unique car deserved similarly unique embellishment. Therefore, he had the smooth grain leather used to trim the Espada’s headrests embossed with Lamborghini’s raging bull emblem.
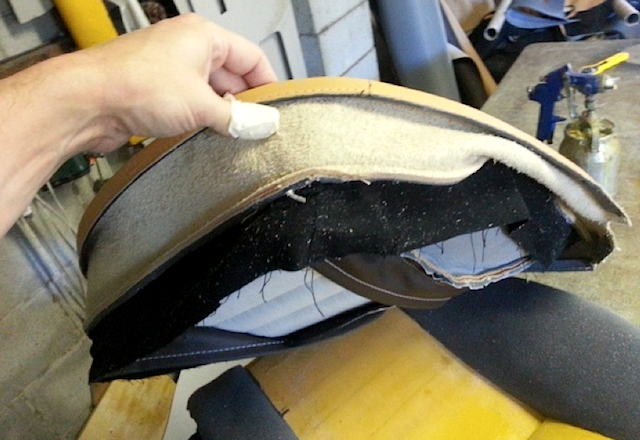
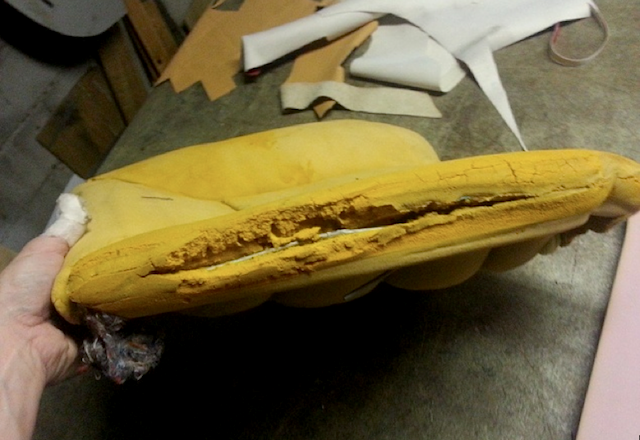
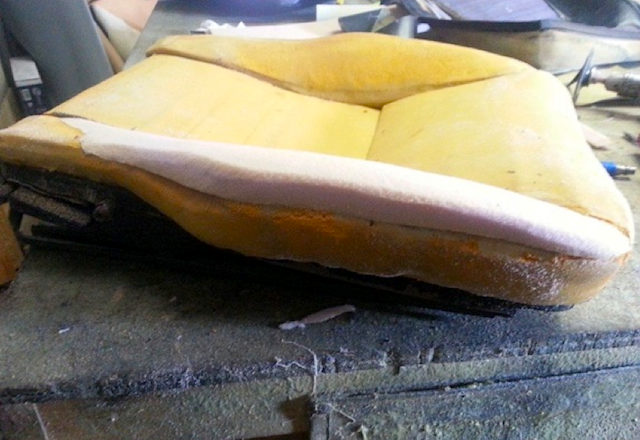
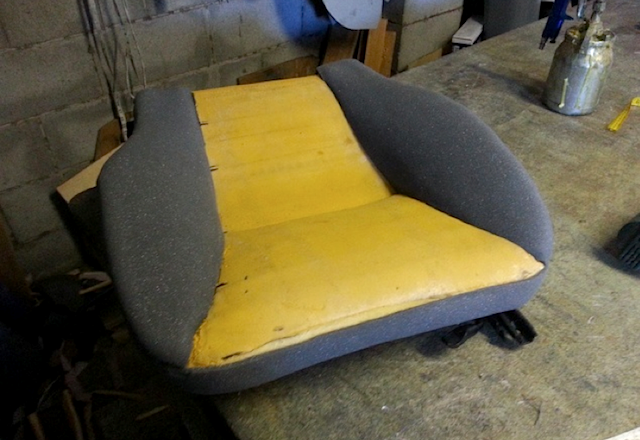
After the new covers were sewn and ready to be installed, Brent stripped the seats of their original upholstery. Surprisingly, their 40-year-old foam wasn’t in too bad of condition.
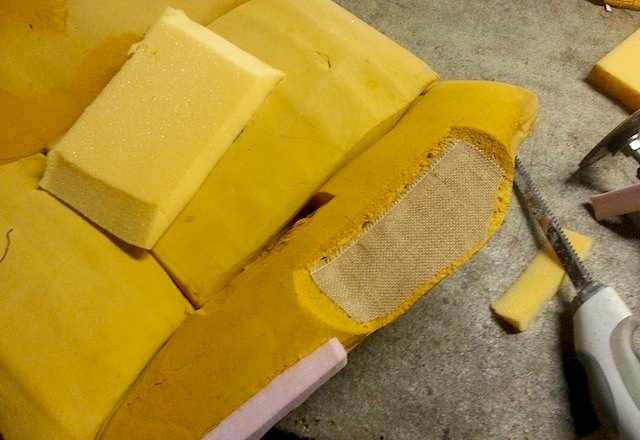
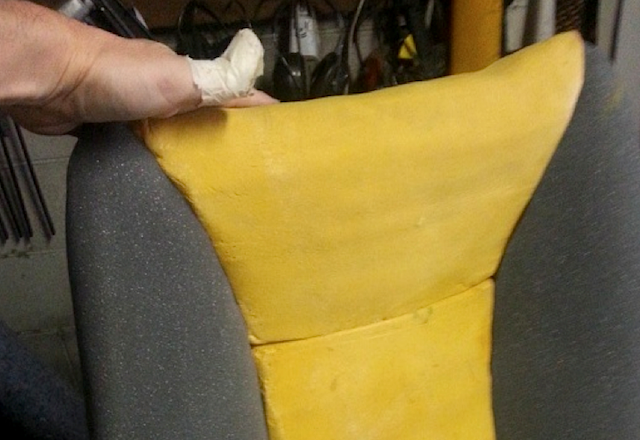
Still, he cut out all the damaged areas and replaced them with new foam, which was sanded to the original form.
As per the owner’s request, Brent added extra foam to the seats’ bolsters for a sportier look and feel.
Of course, the last step to trimming any seat is installing the new covers. Because Brent was meticulous in creating his patterns, the covers fit perfectly. The covers were centered, panels lined up correctly, pleats perfectly straight and listings locked in tight. The result was a flawless, wrinkle-free finish.
Stay tuned for part three of “Lambo Stitching with Brent Parker Motor Trimming,” when Brent shows us step-by-step how he reconstructed the door panels and trim in this one-of-a-kind 1974 Lamborghini Espada.
To read part one of our series, click here.
This is unbelievably awesome. Perfection is off the charts. Can’t say enough good about this. Can’t wait for the next part.
That was great, thanks for putting all that together
Your off the chart Brent, and tan does it for me as well
Beautiful work but the centre pleats should have perforations.
Congratulations for the quality of your job, the results are sparkling. What is the insulation material used for the engine
bonnet? I am reconstructing Lamborghini Espada 1972,and the report of your job is very good help for me.
Thanks and best regards
Georges
Do you remember exactly how many square meters of the leather is needed for upholstery to Espada? Thanx for your help